Installing PhotoStructure on your PiBox is really easy!
Step 1: Upgrade KubeSail Agent
First, verify that your PiBox is running the latest KubeSail Agent. Log into https://kubesail.com, click the “Clusters” link on the left side, click the Settings tab:
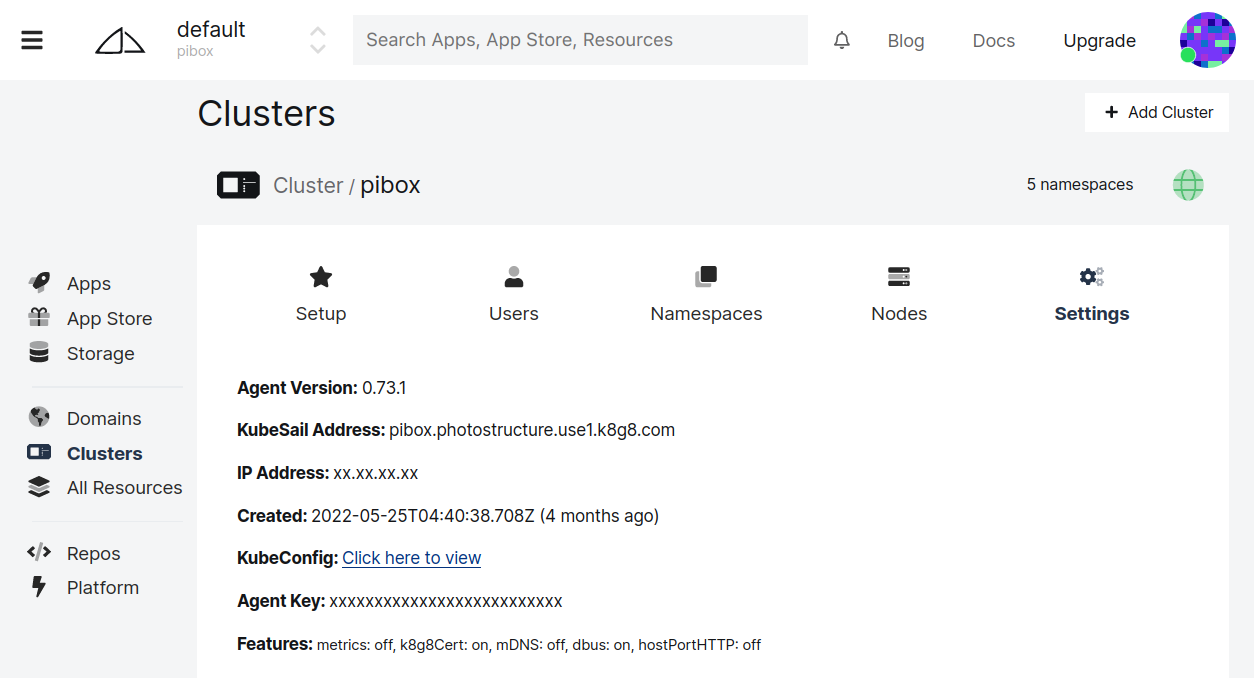
If you see an “upgrade” button, click that, and wait for your PiBox to install and reboot.
Step 2: Open the App Store
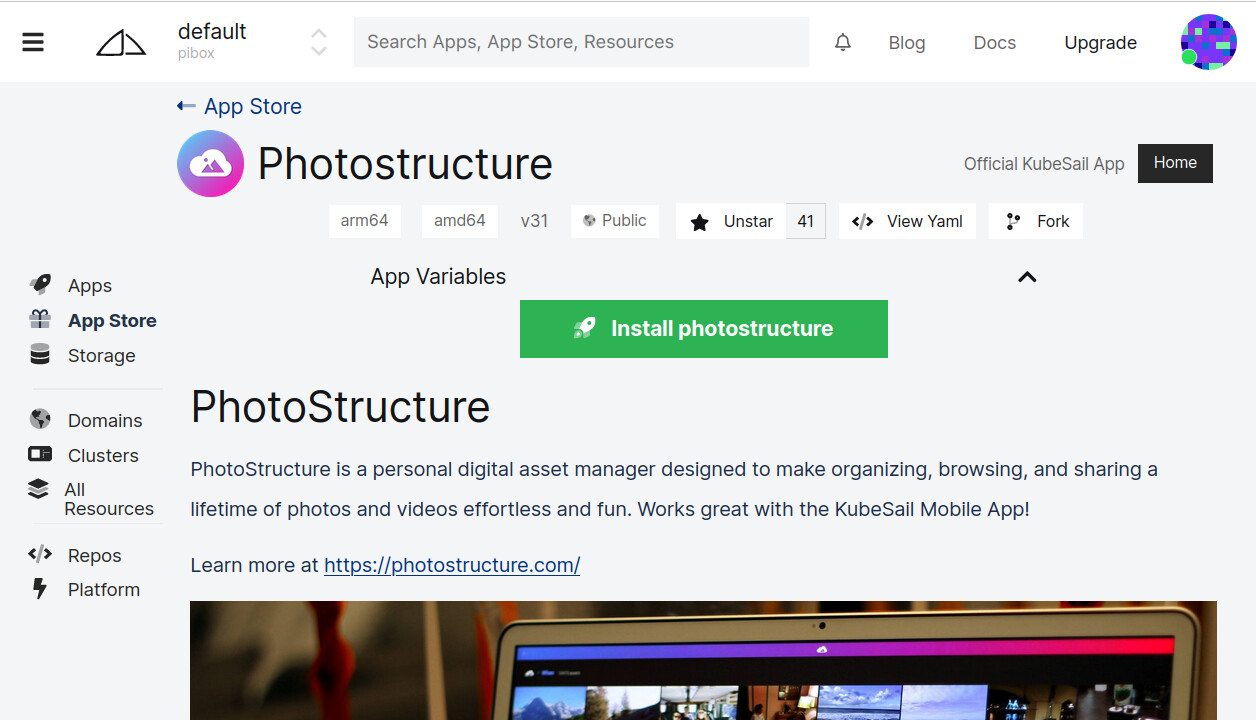
Click the App Store link on the left side, and pick PhotoStructure:

Step 3: Click install
Click the green Install PhotoStructure button to start installation.
Step 4: Launch
Click the “Apps” link on the left side, and click “Launch”.
If you want to open a browser window without the “Launch” button, you need to use the automatically generated username and password. To view and edit that, click the “App Variables” in the top of the form (above the Launch, App settings, and Re-Install buttons):
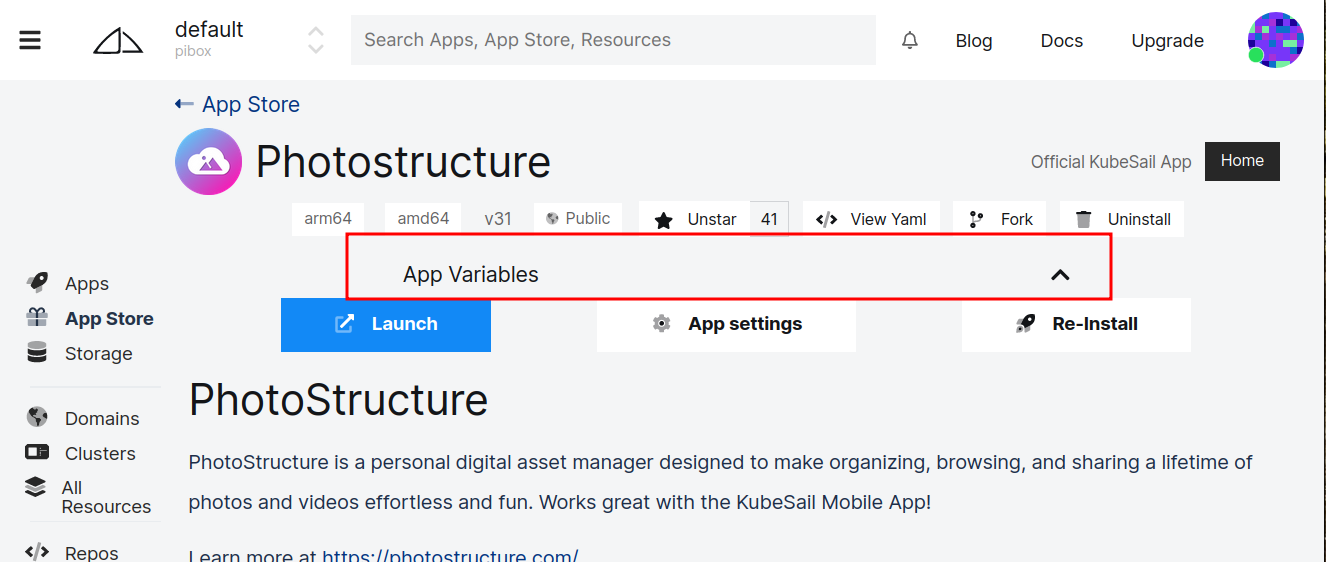
Clicking “App Variables” will expose the username and password:

Don’t do what I did, and get confused by the form at the bottom. If you’re looking at the “photostructure-authdata” section, that’s not the correct form. Scroll up to the top of the page and click “App Variables.”
Anything special for Raspberry Pis?
Note that Raspberry Pi support is new and experimental with version 2.1, which is in alpha as of July 2022.
Importing photos and videos, especially video transcoding, is taxing for the Raspberry Pi, so PhotoStructure disables a bunch of advanced features by default when on RPi hardware.
If you’d rather PhotoStructure’s imports be thorough, you can disable “quick sync mode” through the KubeSail Dashboard:
-
Click Deployments
-
Select PhotoStructure
-
Click the Settings tab
-
Down at the bottom of the page, enter “PS_QUICK_SYNC_MODE” in the
VARIABLE_NAMEfield. Click “Add” -
Enter a value of
false -
Click “Save”